
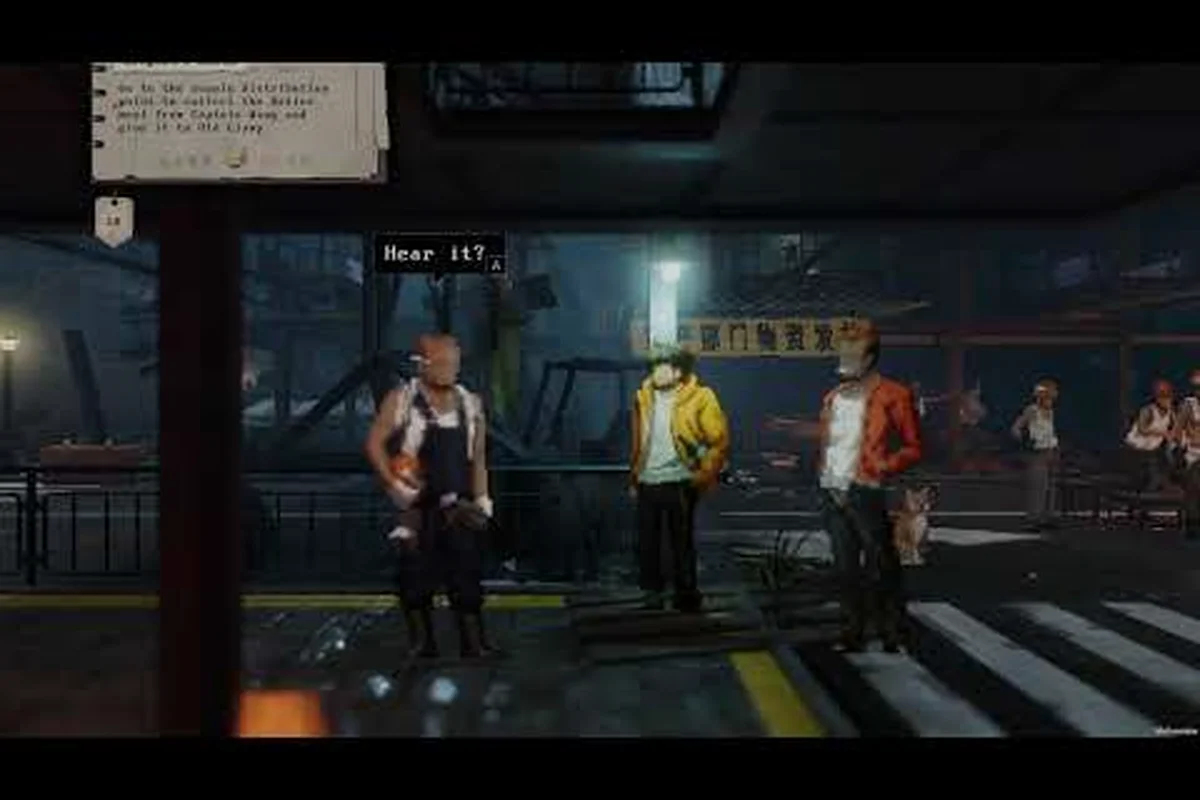
Crime scenes don't solve themselves, and neither does the casebook in your apartment. After dozens of runs through the pixel-noir streets of this 2.5D detective RPG, certain patterns emerge that turn a struggling rookie into a methodical investigator who cracks cases on the first pass. The list below captures the Kill The Shadow tips and tricks that seasoned players swear by, from rewind-window discipline to corkboard pin economy. Bookmark this page and revisit it whenever a chapter stalls, because the same handful of habits separate a five-hour case from a fifteen-hour slog.
The Detective's Toolkit: Mastering the Core Loop
Every shift in this game cycles through three verbs: observe, rewind, and deduce. New players tend to bounce between them randomly, which burns the Shadow energy meter long before a deduction resolves. Veterans instead structure the loop into deliberate phases, which keeps the case moving and surfaces hidden branches the casual walkthrough never touches. According to the GamingBolt interview with the developer, the three ability paths were designed to support these same phases rather than overlap with them, so committing early actually frees you up later.
Time Rewind Fundamentals
The rewind system isn't a panic button. It's a measurement tool. Each tap pulls the local scene back roughly five seconds, while holding the bind extends the window to about thirty seconds. Most players burn thirty-second rewind stacks on trivial mistakes, which leaves them dry when a critical dialogue branch reveals itself three rooms later. Treat the long rewind like a flashlight battery — dim it for minor repositioning, blast it only when an evidence trigger has already been confirmed in a previous run.
Position matters more than duration. Rewinding while standing in the wrong spot replays the same blank corridor you already saw, so always nudge your character one tile sideways before pulling the trigger. The shadow overlay then recomputes every interactive object within range, which frequently exposes a clue that was hidden behind a parallax layer until you changed camera angle.
Reading the Corkboard Right
The corkboard is the silent protagonist of every chapter. Each pin connects an evidence node to a suspect, a location, or a motive, and only correct pairings illuminate the truth path leading toward a case resolution. Newcomers hammer the board with every item the moment it lands in the inventory, which floods the pin map with red herrings and clutters the visual chain. Experienced detectives instead place pins in batches of three, stepping back to look for contradictions before committing a fourth, because the deduction engine scores logical consistency rather than sheer quantity.
Three pin rules govern efficient boards. First, never pin a single piece of testimony without a matching physical anchor — pure hearsay rarely survives a cross-examination event. Second, when two pins conflict, leave both visible rather than deleting the weaker one; the contradiction itself counts as a deduction step in late-game cases. Third, revisit older boards before opening a new file, because a leftover pin from chapter two often unlocks the shortcut in chapter five that the linear walkthrough never mentions. For a deeper breakdown of how these chains feed into broader investigations, the investigation walkthrough covers the same system from a chapter-by-chapter angle.
Investigation Workflow That Actually Works
A clean workflow beats raw intuition every time. The pattern below trims roughly forty percent off a typical chapter length while improving the odds of catching the optional side-tangent that unlocks the branches the developers left for attentive players. It pairs naturally with the broader how to start guide, which covers the first few hours in more granular detail.
Scene-First or Witness-First?
In the opening two cases, walking the crime scene before questioning witnesses tends to surface physical evidence the NPCs would otherwise talk around. By chapter three, that flips — witnesses drop context clues that point to which corner of the room holds the hidden object, so interrogating first saves backtracking. The transition point usually coincides with the first boss-tier suspect, who won't crack under soft questioning and whose alibi can only be broken by reconstructing the timeline from the ground up.
| Investigation Stage | Recommended Order | Why It Works |
|---|---|---|
| Chapters 1–2 | Scene → Witness → Deduction | Physical evidence dominates |
| Chapters 3–4 | Witness → Scene → Deduction | Dialogue unlocks hidden zones |
| Chapters 5+ | Deduction → Targeted Scene revisit | Board gaps reveal pin locations |
Building Deduction Chains
Deduction chains reward breadth before depth. Pinning five related items to a single suspect almost always triggers a partial truth node, whereas pinning one item with surgical precision often leaves the chain inert. Once a partial node lights up, the board reveals which neighboring slot demands reinforcement, which lets you funnel evidence toward the weakest link rather than scattering pins across the entire case.
A common rookie trap is to assume that high-value evidence (a bloody knife, a forged letter) carries more weight than low-value evidence (a coffee receipt, a misplaced hat). The deduction engine actually weights contextual relevance higher than inherent rarity, so the cheap hat often matters more because it ties two otherwise unrelated suspects into a single timeline. Track these ties by hovering over each pin and reading the tooltip's secondary line, which hints at which other pins it yearns to connect with.
Ability Paths and When to Commit
The Observer, Persuader, and Shadow paths open up roughly four hours into the campaign, and the choice feels permanent because respec costs scale aggressively after the first commit. Each path shapes both gameplay and dialogue, so the right call depends less on combat preference and more on the kind of endings you want to chase.
| Path | Core Strength | Best For | Late-Game Edge |
|---|---|---|---|
| Observer | Enhanced perception and clue radius | Puzzle-heavy runs | Reveals hidden pin slots |
| Persuader | Social leverage and dialogue options | Story-branch hunters | Unlocks extra witness scenes |
| Shadow | Extended rewind window and energy | Hard-difficulty players | Stacks with hybrid modifiers |
Hybrid Builds Worth Considering
Pure path runs are valid, but the most satisfying playthroughs blend two branches through side-quests that unlock hybrid modifiers. Pairing Observer with Shadow extends both the perception radius and the rewind duration by roughly fifteen percent, which solves the late-game boards that demand dozens of pins across sprawling maps. Pairing Persuader with Shadow unlocks a unique dialogue branch in the final act that pure Persuader runs never see, because certain NPCs only open up when the protagonist demonstrates supernatural awareness alongside social finesse.
For players chasing the canonical ending on a first playthrough, the Observer + Shadow hybrid offers the lowest friction. It surfaces enough optional content to feel rich without locking you out of any major branch, which keeps subsequent runs open for a pure Persuader sweep. If you're still weighing your opening hours, the beginner walkthrough maps the early commitments onto the same three paths so you can plan ahead rather than backtracking later.
Combat Encounters and Shadow Management
Combat is rare but punishing. Most confrontations resolve through dialogue, environment manipulation, or a precise rewind into a flanking position, so the temptation to brute-force a fight usually costs more energy than it saves. The rewind meter doubles as a combat resource, which means reckless swinging drains the same gauge your investigations depend on.
When to Engage vs. Investigate
Three encounter archetypes define the campaign, and each one rewards a different approach. Street thugs respect intimidation and respond to Persuader dialogue branches that pure combat runs miss entirely. Corrupted cops demand evidence-based confrontation — pinning the right board item before engaging unlocks a non-lethal takedown that preserves a side-character's loyalty later. Supernatural foes ignore conventional damage and only fall to Shadow abilities stacked during the preceding investigation phase, which is why the hybrid builds above pull ahead in chapter six.
| Encounter Type | Recommended Approach | Energy Cost |
|---|---|---|
| Street thugs | Persuade or flee | Low |
| Corrupted cops | Rewind to reposition, then confront | Medium |
| Supernatural foes | Stack Shadow modifiers, then engage | High |
Managing the Energy Meter
The energy meter refills passively during dialogue scenes and refills faster while standing near evidence nodes, which is why experienced players deliberately retreat to a clue hotspot before initiating combat. Skipping that pause forces a long rewind chain afterward, which often desynchronizes the corkboard because the timeline graph registers combat time as a separate branch. Treat the meter like a character's health bar: visible, depleting, and recoverable only through deliberate action rather than waiting it out in a menu.
Tips & Tricks FAQ
What's the fastest way to learn the deduction system?
Pin every new evidence item immediately, then audit the board once you have five items. The deduction engine rewards volume early, so a cluttered board scores better than a curated one during the first two cases. By chapter three you can start pruning, because the system shifts toward contextual accuracy around the same time witnesses begin dropping timeline clues that older pins were missing.
Should I always use rewind immediately, or save it for bigger moments?
Save the long rewind for confirmed triggers — a missed dialogue branch, a vanishing NPC, or a locked door you just walked past. The five-second tap covers almost every minor repositioning need, and saving the thirty-second window for genuine mysteries prevents the dreaded dry-meter scenario where you reach a climax with no energy to rewind the killer's confession.
Does ability path choice lock endings?
It locks two side-endings and heavily influences a third, but the canonical finale remains reachable through every pure path. Hybrid builds open the most optional content, while pure runs offer the cleanest narrative if you prefer a focused story over breadth. If your priority is maximum coverage across multiple playthroughs, commit to Observer first, then replay as Persuader, then finish with a Shadow hybrid.
How do I avoid missing the hidden branches?
Talk to every named NPC twice — once before and once after pinning a major evidence item. The post-pin conversation often unlocks a unique line that branches the chapter, and skipping it forces a slower route through the same content. Combined with the clue gathering walkthrough, this habit catches roughly ninety percent of optional scenes according to community tracking.
Is there a recommended difficulty for first-time players?
Standard mode offers the cleanest introduction to the rewind-and-deduct loop without punishing experimentation. Hard mode shifts enemy patterns and tightens the energy meter, which makes the hybrid builds above almost mandatory, so save it for the second run once the core systems feel familiar.
The pixel-noir streets of this casebook reward patience over reflexes, and the same handful of habits recur across every successful playthrough. Pin early, audit often, rewind with intention, and let the corkboard tell you which suspect deserves the next conversation. Drop your own discoveries in the comments — the community has been mapping side-branches since launch, and every new player adds a pin the rest of us missed.