
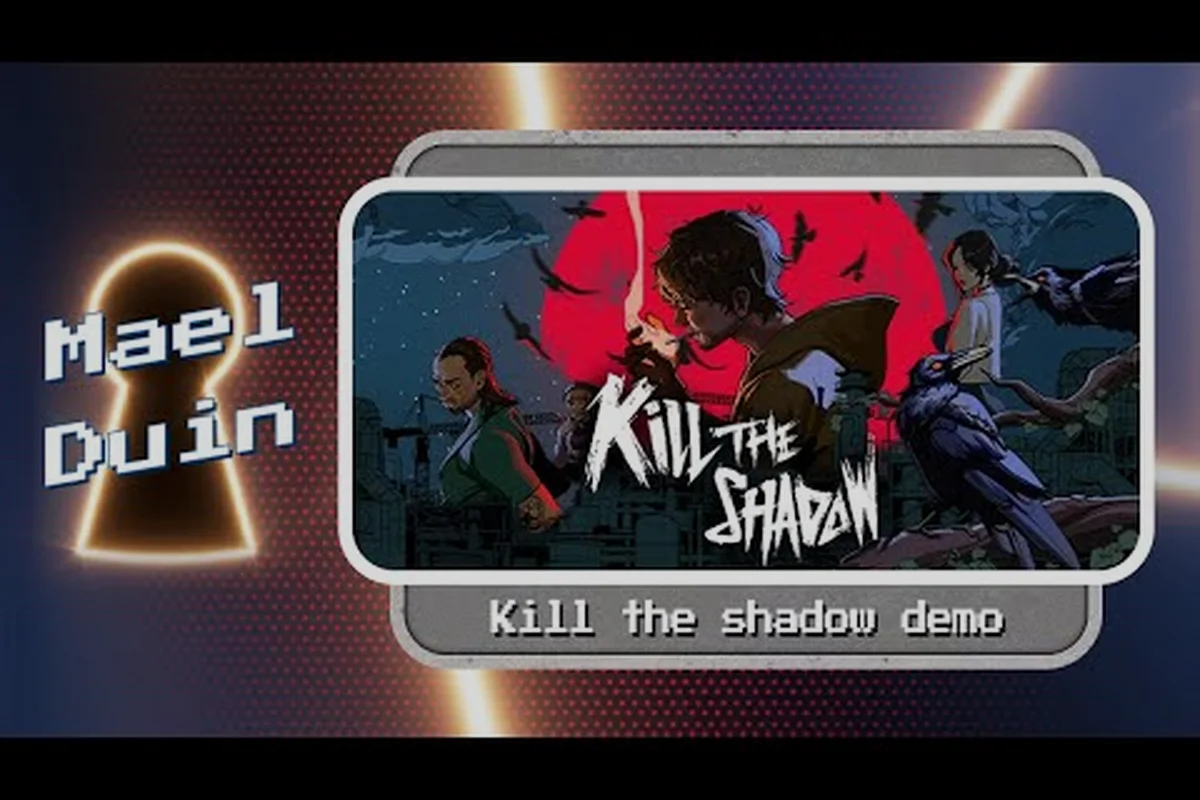
Stepping into Kill The Shadow for the first time puts players in control of a disgraced detective whose supernatural ally — the Shadow — can rewind the last few seconds of any scene. This cutscene-heavy, 2.5D pixel-noir RPG leans into deduction as much as combat, and the opening cases deliberately throw confusing threads at newcomers so the mood lands before tutorials do. Get the most out of your opening run by understanding what truly matters in the first hour, because every later case assumes you already learned the basics during the prologue.
Your First 30 Minutes in Kill The Shadow
The prologue drops players into the Hub District crime scene with very little hand-holding, which feels intimidating but is actually the game's way of teaching through density rather than dialogue boxes. According to community impressions shared across Steam reviews, most newcomers spend their first five minutes failing the same replay-and-react loop three or four times before the Shadow Gauge mechanic clicks. That gauge regenerates slowly between scenes, so the trick is recognizing which encounters reward a rewind versus a clean run on the first attempt.
Your opening inventory contains the Brass Compass key item, a leather notepad, and one consumable that replenishes the gauge during combat encounters. Pressing the dedicated input rewinds roughly six seconds of motion, which is enough to dodge a fatal attack, reposition for line-of-sight puzzles, or undo a dialogue choice that locked a wrong answer behind a closed door. The Hub District itself acts as a soft tutorial hub: each doorway leads to a vignette that teaches a single mechanic — combat, evidence scanning, or interrogation — before returning you to the overworld map at the top of the hour.
If you are curious about the broader structure that follows these vignettes, the how-to-start primer maps the exact sequence most players encounter across the first chapter, including where autosaves trigger and where the manual save prompt first appears.
Mastering the Shadow Rewind System
The headline mechanic — using the Shadow to rewind short bursts of time — feels scripted at first, then opens up once players understand the resource sitting underneath the cool visual effect. This section of the Kill The Shadow walkthrough covers both halves of the loop: charging the gauge, then deciding when to spend segments without wasting any.
How Shadow Charges Work
The Rewind Pulse meter has three segments by default, with each additional segment unlocking after a brief cutscene during chapter one. Every segment spent returns roughly six seconds of recent motion and reverts minor state changes such as ammo count, character position, and active dialogue flags. Major state changes — like a suspect fleeing the room or a boss entering phase two — are exempt from rewind, which prevents players from trivializing encounters by spamming the input against escalating threats.
Charging happens passively when the screen stays idle for more than ten seconds, and certain dialogue choices reward a free segment as a bonus for picking the non-obvious answer. The table below summarizes what each spend source costs and what it actually recovers in a live playthrough.
| Spend Source | Segments Used | Effect |
|---|---|---|
| Dodge rewind | 1 | Cancels incoming attack, retains ammo |
| Dialogue undo | 1 | Rewinds to last choice node, keeps clues |
| Puzzle reset | 1 | Resets interactive puzzle to start state |
| Boss recovery | 2 (min) | Revives with partial HP after fatal hit |
When to Rewind vs. Advance
Players often mistake rewind as a catch-all fix and overuse it during basic combat, which drains the gauge before critical story moments later in the same chapter. Holding the input for half a second chains two segments and triggers a longer twelve-second rewind — useful for environmental puzzles but wasteful against single enemies who barely move between attacks. The smarter move is advancing only on dialogue forks, evidence interactions, and doors that visibly change state, since saves for combat and dialogue flow together are limited per chapter by design rather than oversight.
A practical habit is rewinding immediately after dying once — not to win, but to learn the attack pattern — then playing the next attempt cleanly without the gauge. This pattern shows up repeatedly in streamer commentary and tends to outperform brute-force grinding, because the gauge is meant as a teaching tool rather than a panic button.
Choosing Your First Ability Path
By the end of chapter one, the protagonist unlocks a branching system that determines which investigative tools gain bonus efficiency for the remainder of the playthrough. Picking an early path does not lock players out of others entirely, although it does shift the order of unlockable nodes and influences which case walkthroughs feel the most natural to engage with during chapter two.
Combat Path Strengths
The Combat Path grants bonus damage with the brass knuckles and revolver, faster rewind regeneration during fights, and a unique parry window that absorbs one heavy hit per chapter. It is the most forgiving route for new players who struggle with the timing of Shadow-based dodges, because parrying complements — rather than competes with — the rewind system that the tutorial already taught.
Deduction Path Strengths
The Deduction Path turns the Corkboard into a faster, semi-automated tool: connecting two evidence threads auto-spawns a third inference line, dramatically speeding up case closure without sacrificing accuracy. It is the strongest pick for players who enjoy narrative density and want every dialogue option unlocked without grinding through optional side scenes.
Spirit Path Strengths
The Spirit Path increases the duration of ghostly vision sequences, which reveal hidden clues in the environment that neither combat nor deduction surfaces through normal scanning. The trade-off is lower HP in extended fights, so pairing this path with steady evidence-gathering habits pays off best across longer chapters.
| Path | Best For | Signature Bonus | Trade-off |
|---|---|---|---|
| Combat | Reaction-heavy players | Parry window + faster regen in fights | Slower evidence linking |
| Deduction | Narrative-first players | Corkboard auto-inference | Reduced spirit vision range |
| Spirit | Exploratory players | Extended ghostly vision | Lower sustained HP |
For a deeper breakdown of how these paths interact with later chapters and which hybrid pairings recover the lost bonuses, the spirit-build guide documents optimal node orders for completionist runs.
Corkboard Deduction: A Walkthrough Primer
Once two pieces of evidence enter the inventory, the Corkboard interface opens — a cork-textured surface where colored string connects clues, suspect profiles, and timeline markers across a single screen. This is where the Kill The Shadow beginner guide path diverges most from standard detective fiction games, because deduction rewards repetition and patience over speed.
Connecting Evidence Threads
Dragging a clue onto another clue creates a blue inference line; dragging a clue onto a suspect profile creates a red line that asserts motive, opportunity, or a direct connection between events. Both line types must be correct for the case to advance, and the game never tells players explicitly when a connection is wrong — only that the board "feels incomplete" after a check. Saving before linking avoids the soft lock that frustrated early-access testers in the prologue chapter, because certain mislinks can cost more than an hour of undo work.
Reading Suspect Profiles
Each suspect carries a four-tab profile: alibi, motive, opportunity, and reliability. The reliability tab fluctuates based on whether your previous deductions matched their testimony, which means early-careless mistakes quietly reduce the helpfulness of certain NPCs in later chapters. Slow down especially on chapter two profiles where reliability affects the case walkthrough outcomes you can actually reach, including whether a hidden confession triggers during the final confrontation.
For wider context on evidence hunt pacing and how to balance physical versus testimonial clues across a full case file, the clue gathering guide offers a checklist format that pairs well with the Corkboard's visual approach.
Building Clues Toward Branching Endings
By chapter three, every choice on the Corkboard funnels toward one of several branch points, and the game tracks which inferences were made under pressure versus careful study. This portion of the walkthrough focuses on what to prioritize when overlapping cases start sharing suspects and timelines.
Evidence Categories to Prioritize
Not all clues carry equal weight at the branch-point nodes. Physical evidence — weapons, letters, photographs gathered from searchable objects — outranks testimonial evidence in late-game verdicts, because the in-fiction judge weighs material proof over witness memory. Spiritual evidence, gathered exclusively through Spirit Path vision sequences, is rare but counts double at certain branch points, which makes that path uniquely valuable for completionist runs even though the chapters feel harder during combat.
| Category | Source | Late-Game Weight |
|---|---|---|
| Physical | Searchable objects, crime scenes | High |
| Testimonial | Suspect dialogue, flashbacks | Medium |
| Spiritual | Vision sequences, ambient echoes | Highest (rare) |
Avoiding Common Beginner Pitfalls
Players routinely burn through cases by talking to every suspect in order rather than sorting clues first. Sorting the Corkboard before any new interrogation resets the dialogue tree with updated prompts, which is the trick that turns "I am stuck" threads into productive leads without backtracking across the overworld map. According to the GamingBolt interview with the developer, this design is intentional — the team wanted players to feel clever when they crack a case rather than walk through it on rails, since the genre has leaned too heavily on autopilot in recent years.
Another avoidable trap is skipping the post-credits stinger in chapter two, because the stinger unlocks a brief but important investigation node in chapter four that players often miss entirely. Cross-reference the official Steam page for Kill The Shadow before committing hours to a single ending path, since the page lists canonical ending counts and the installed content warnings for each route.
A third pitfall worth flagging is hoarding consumables past chapter two. The Looped Encounter mechanic refreshes only on chapter transitions, which means sitting on three healing items at the end of chapter two loses them entirely once chapter three begins — spend them before the final boss door if your HP is not full.
Beginner Guide FAQ
How long does the Kill The Shadow beginner guide progression usually take?
Most players reach the midpoint of chapter two in roughly four to six hours, which is the natural checkpoint before ability paths start branching in earnest and chapter three opens the wider city map.
Is there a difficulty setting that makes the rewind mechanic easier to manage?
Yes, the Beginner Mode toggle recharges Shadow segments twice as fast and unlocks an optional tutorial overlay on every Corkboard interaction, as documented in the official difficulty notes shipped with the release build.
Can I switch ability paths mid-game after committing early?
Players can reset path nodes at any in-fiction rest point, although the reset costs a small amount of in-game currency and forces one short replay segment to retread the dialogue that originally locked the path.
Does the Corkboard track my mistakes or just hide them?
The board visually dims incorrect connections and marks reliability scores on suspect profiles, but it never outright tells players which thread is wrong until late-game cases close out — a design choice that rewards manual logging.
What happens if I miss a branch point on a first run?
Missed branches still appear in subsequent playthroughs under "Director's Cut" markers, so no ending is permanently locked by a single decision and every route becomes reachable through replay rather than save-scumming.